Custom domains
Linking a custom domain to your blog is done in 3 simple steps.
The 3 steps to linking your custom domain
Step 1: Add a domain to your blog
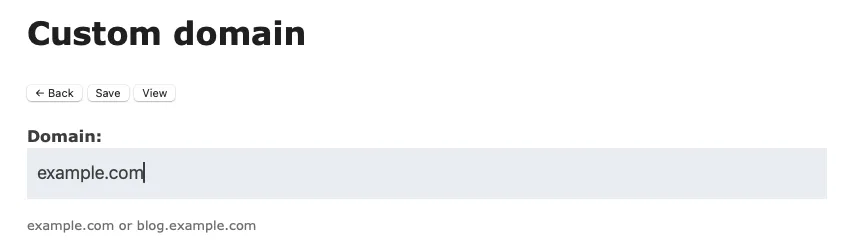
Custom domain setup can be found in your blog's dashboard under Settings > Custom domain.
Set your custom domain and select Save.
Step 2: Create the DNS records
Once you have a domain registered with a domain registrar, create the following DNS records on in your DNS editor:
| Type | Name | Content | TTL |
|---|---|---|---|
| ALIAS or ANAME or CNAME | @ | domain-proxy.bearblog.dev | 3600 |
| ALIAS or ANAME or CNAME | www | domain-proxy.bearblog.dev | 3600 |
If you want the blog on a subdomain (eg: https://blog.example.com), substitute the @ for blog.
Some DNS registrars don't support CNAME records well on the root domain causing inconsistent behavious. It's best to prioritise ALIAS or ANAME records where available.
If you are using Cloudflare, ensure the proxy (the orange cloud) is turned off.
Note: the record is to point to domain-proxy.bearblog.dev, not subdomain.bearblog.dev.
Problems setting a root ALIAS or ANAME or CNAME
If your DNS provider does not support ALIAS or ANAME or CNAME records on the root domain, you can instead set up the following A record:
| Type | Name | Content | TTL |
|---|---|---|---|
| A | @ | 159.223.204.176 | 3600 |
| A | www | 159.223.204.176 | 3600 |
It is preferable to use a ALIAS or ANAME or CNAME record if your provider supports it, as it is dynamic and handles both IPv4 and IPv6 under the hood.
Step 3: Validate your domain
Go to your custom domain. It should load your blog. If you receive an SSL error on your first load, reload the page. It is likely that your SSL certificate is being issued.
Note that DNS records can sometimes take a few minutes to propagate. You can check your DNS record propagation with DNS Checker
If you are having serious problems setting up your DNS records, you can contact Herman with a screenshot of your records and a description of the problem.